HTTPS Integration
Our HTTPS integration is the most flexible integration we offer, allowing you to accept nearly any data from anywhere. If your remote system can make a GET or POST request to the URL we provide, we can accept your event.
The HTTPS integration also supports field transforms, so you can send requests and configure the data in them to be transformed to line up with fields that we expect when creating incidents.
Create the Ready Five integration
In your web browser, navigate to the "Integrations" tab in the team that should own this integration and click the "Add Integration" button.

For the integration type, click the "Add" button in the HTTPS box.
Give the integration a name (or keep the default) and an optional description and click "Add".
The integration is now created, and you now have a URL on this screen that you'll need in a minute. Keep this tab open and open another.
Send a simple GET request
Upon creating the integration, you'll be given an address specific to this integration and must use it for all requests.
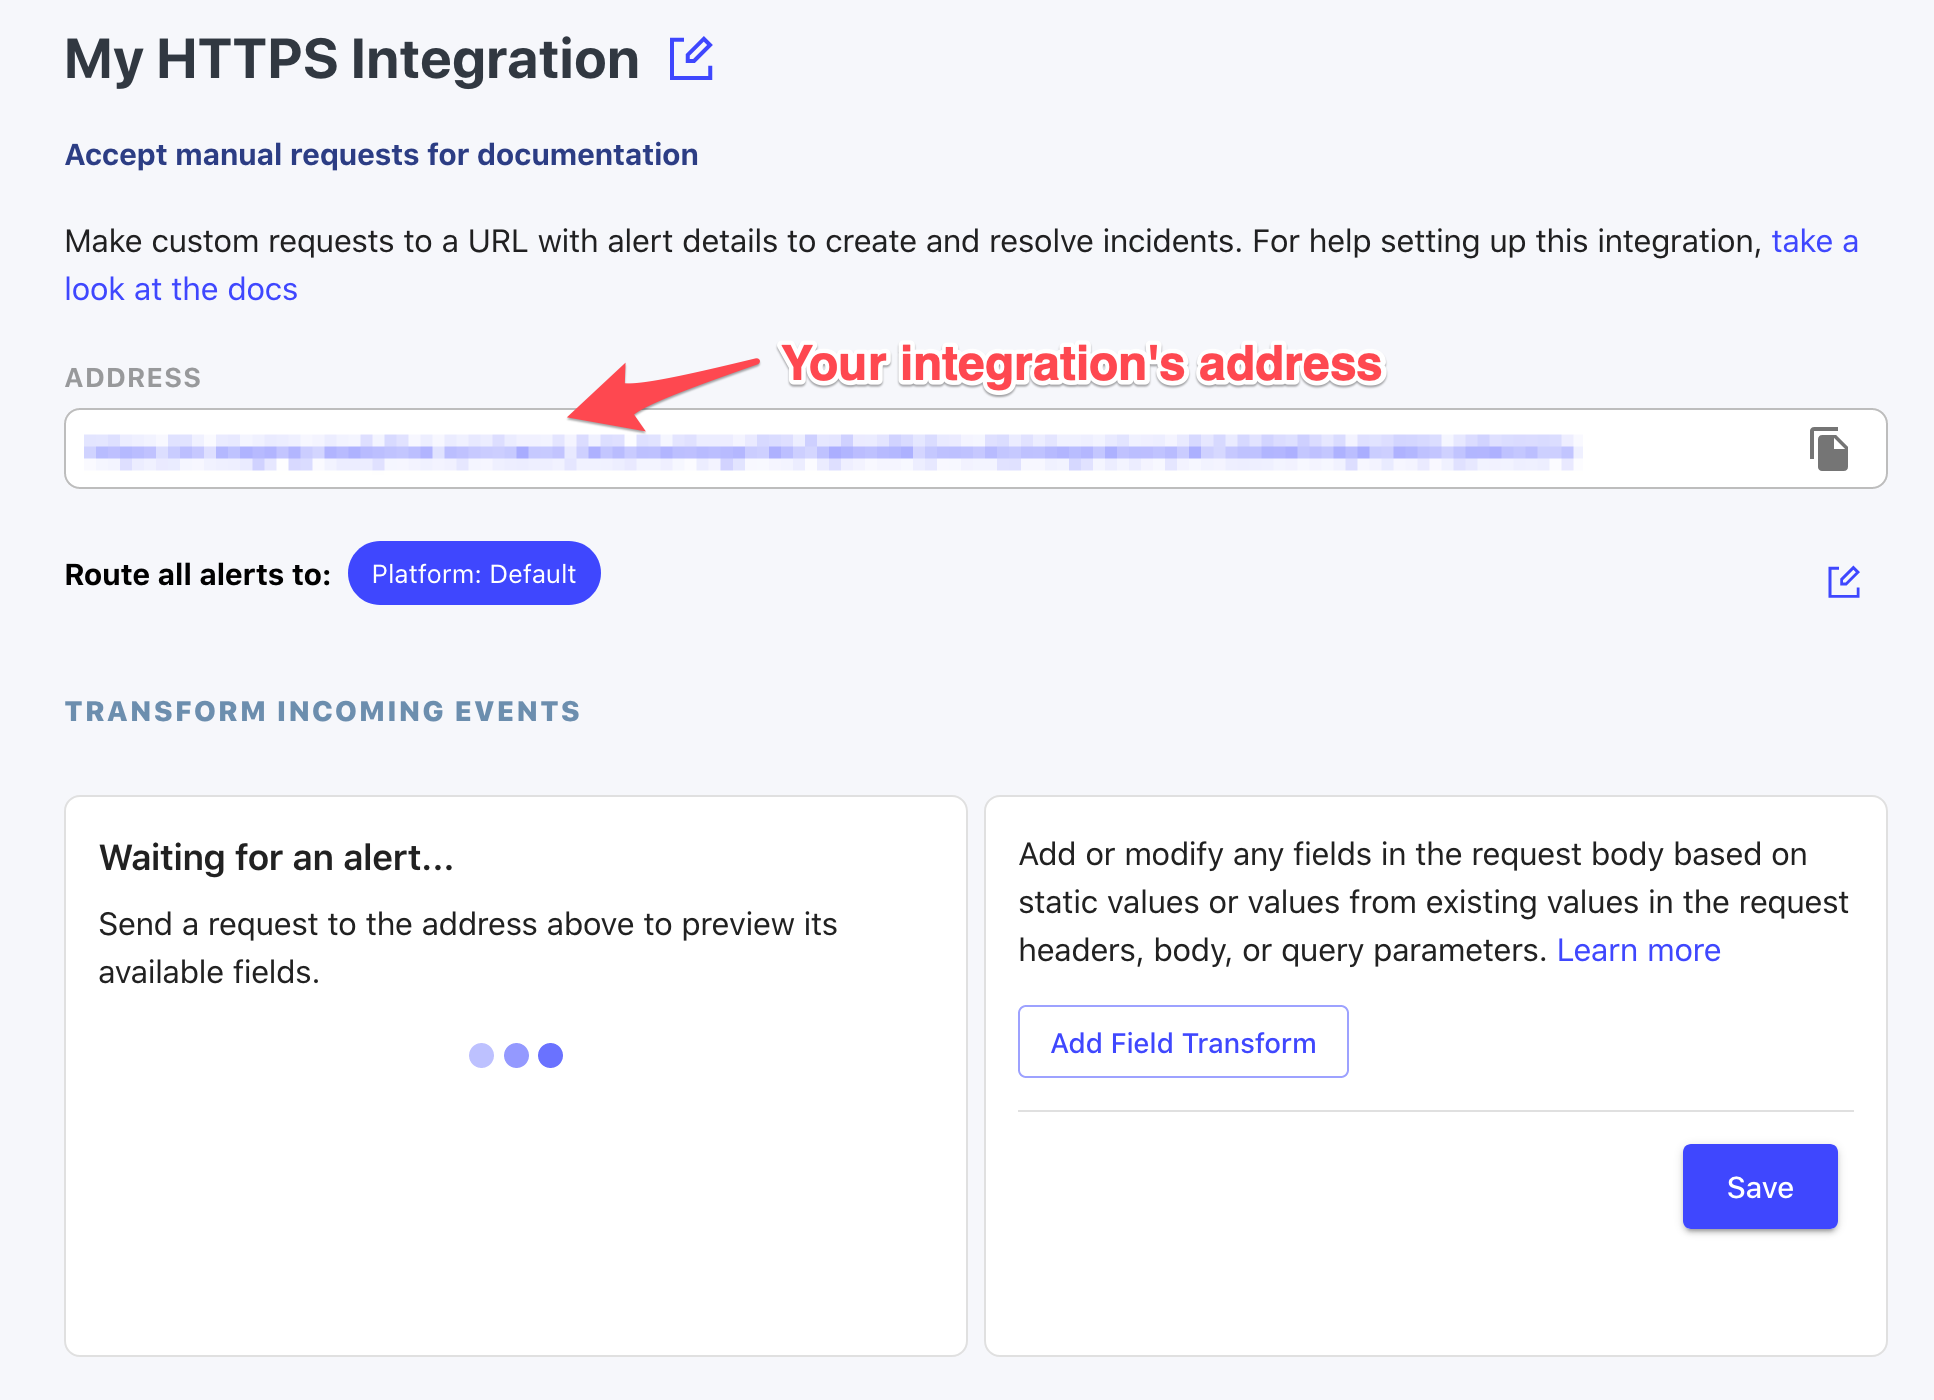
Copy that address into the service that will be sending a request. For the purposes of these docs, we'll use Paw to make the simplest request possible. Make a GET request and paste in the integration address. For this first case, we're not going to send any parameters. Submit the request.
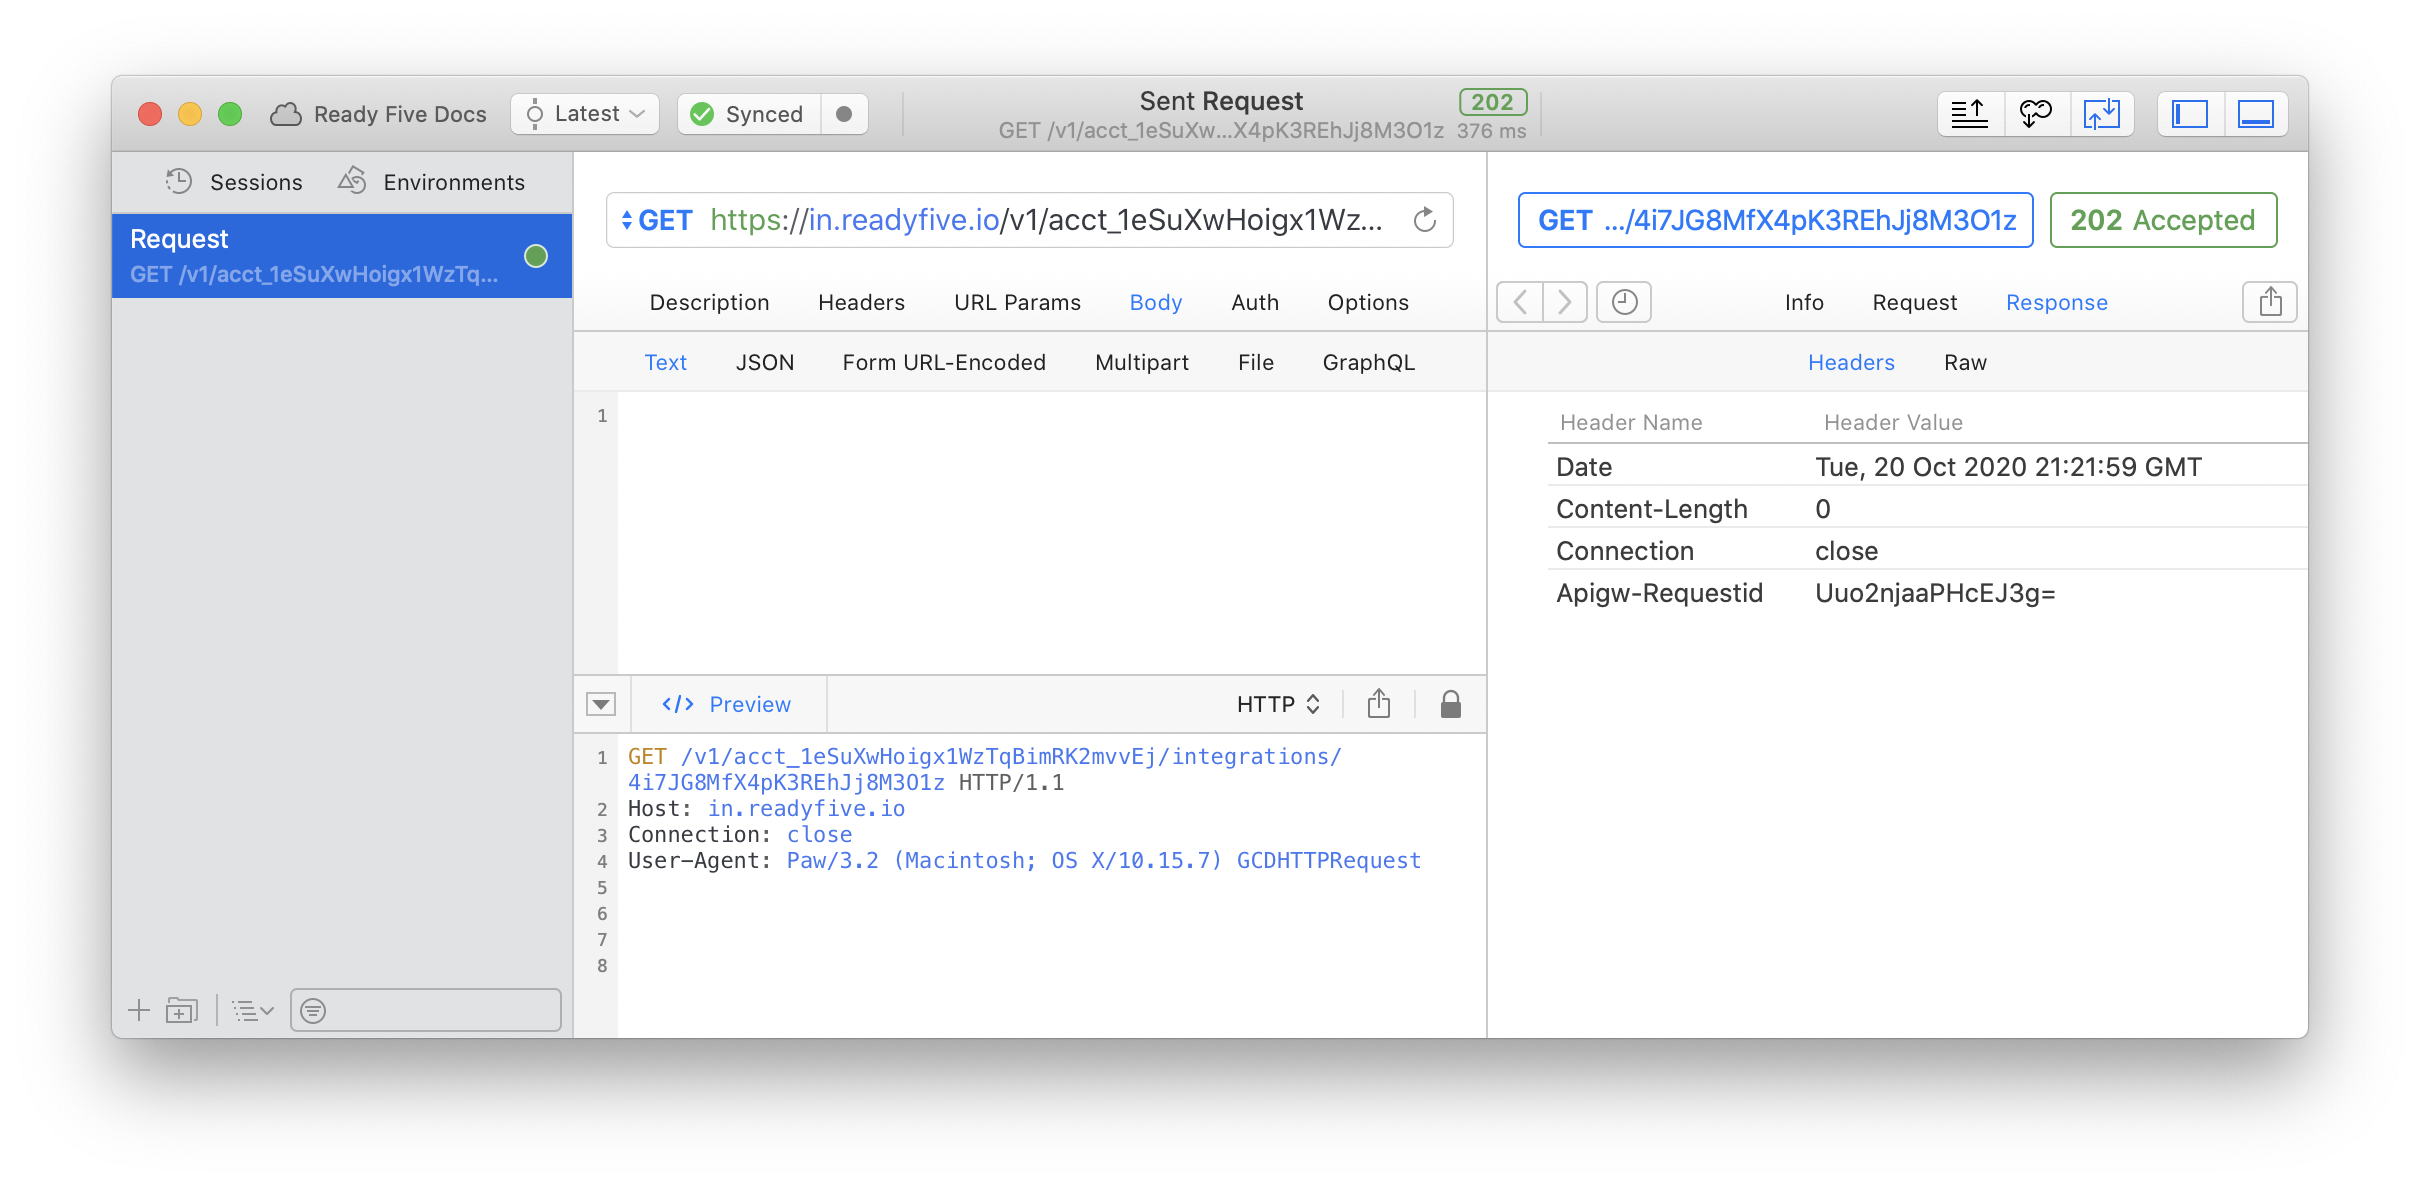
Without specifying anything in particular, the request was accepted and responds with a 202 Accepted HTTP response code.
If you head over to your incidents screen, you'll see an incident was created as a result of this request and was assigned to the integration's team.

Since there wasn't much provided in the request, we make an incident that uses the request's user agent and IP address to construct an incident title by default.
Send a POST request shaped for Ready Five
When you have full control over the request you're making to create alerts, you can prepare the request with a JSON shape that Ready Five expects, which allows you to customize the look and behavior of incidents created from alerts.
The following root JSON fields are available for use when sending in custom HTTPS events. All fields are optional.
action(string): Defines the action to be taken by the event. Can be one of "TRIGGER", "ACKNOWLEDGE", "RESOLVE". Set to "TRIGGER" by default if not supplied. If set to "ACKNOWLEDGE" or "RESOLVE",groupKeyis required and must match an existing alert with aTRIGGEREDstatus. If there is no matching alert, events with "ACKNOWLEDGE" or "RESOLVE" set as the action will be suppressed.groupKey(string): Any string can be supplied to group a set of events. The group key can be used in combination with theactionto perform subsequent actions on existing alerts. Using a group key, you could send an event with the action "TRIGGER" followed by an event with the action "RESOLVE".idempotencyKey(string): Any string can be supplied as an idempotency key to prevent sending duplicate requests. If you send multiple requests to the same integration with the same idempotency key within a 5 minute period, all but the first request will be dropped.severity(string): Defines an event's severity - can be one of "SEV1" (most critical), "SEV2", "SEV3", "SEV4", "SEV5" (least critical). Set to "SEV1" by default if not supplied.source(string): Where this event originated - it's often set to a URL where the problem was detected, making it easy to dig further to determine a root cause.timestamp(string): Accepts an integer unix timestamp specified as the number of seconds since the unix epoch set as a string. Represents the timestamp of the associated event. If not set, we'll use the timestamp of the request.title(string): If provided, this will be set as the title of the alert and the subsequent incident.
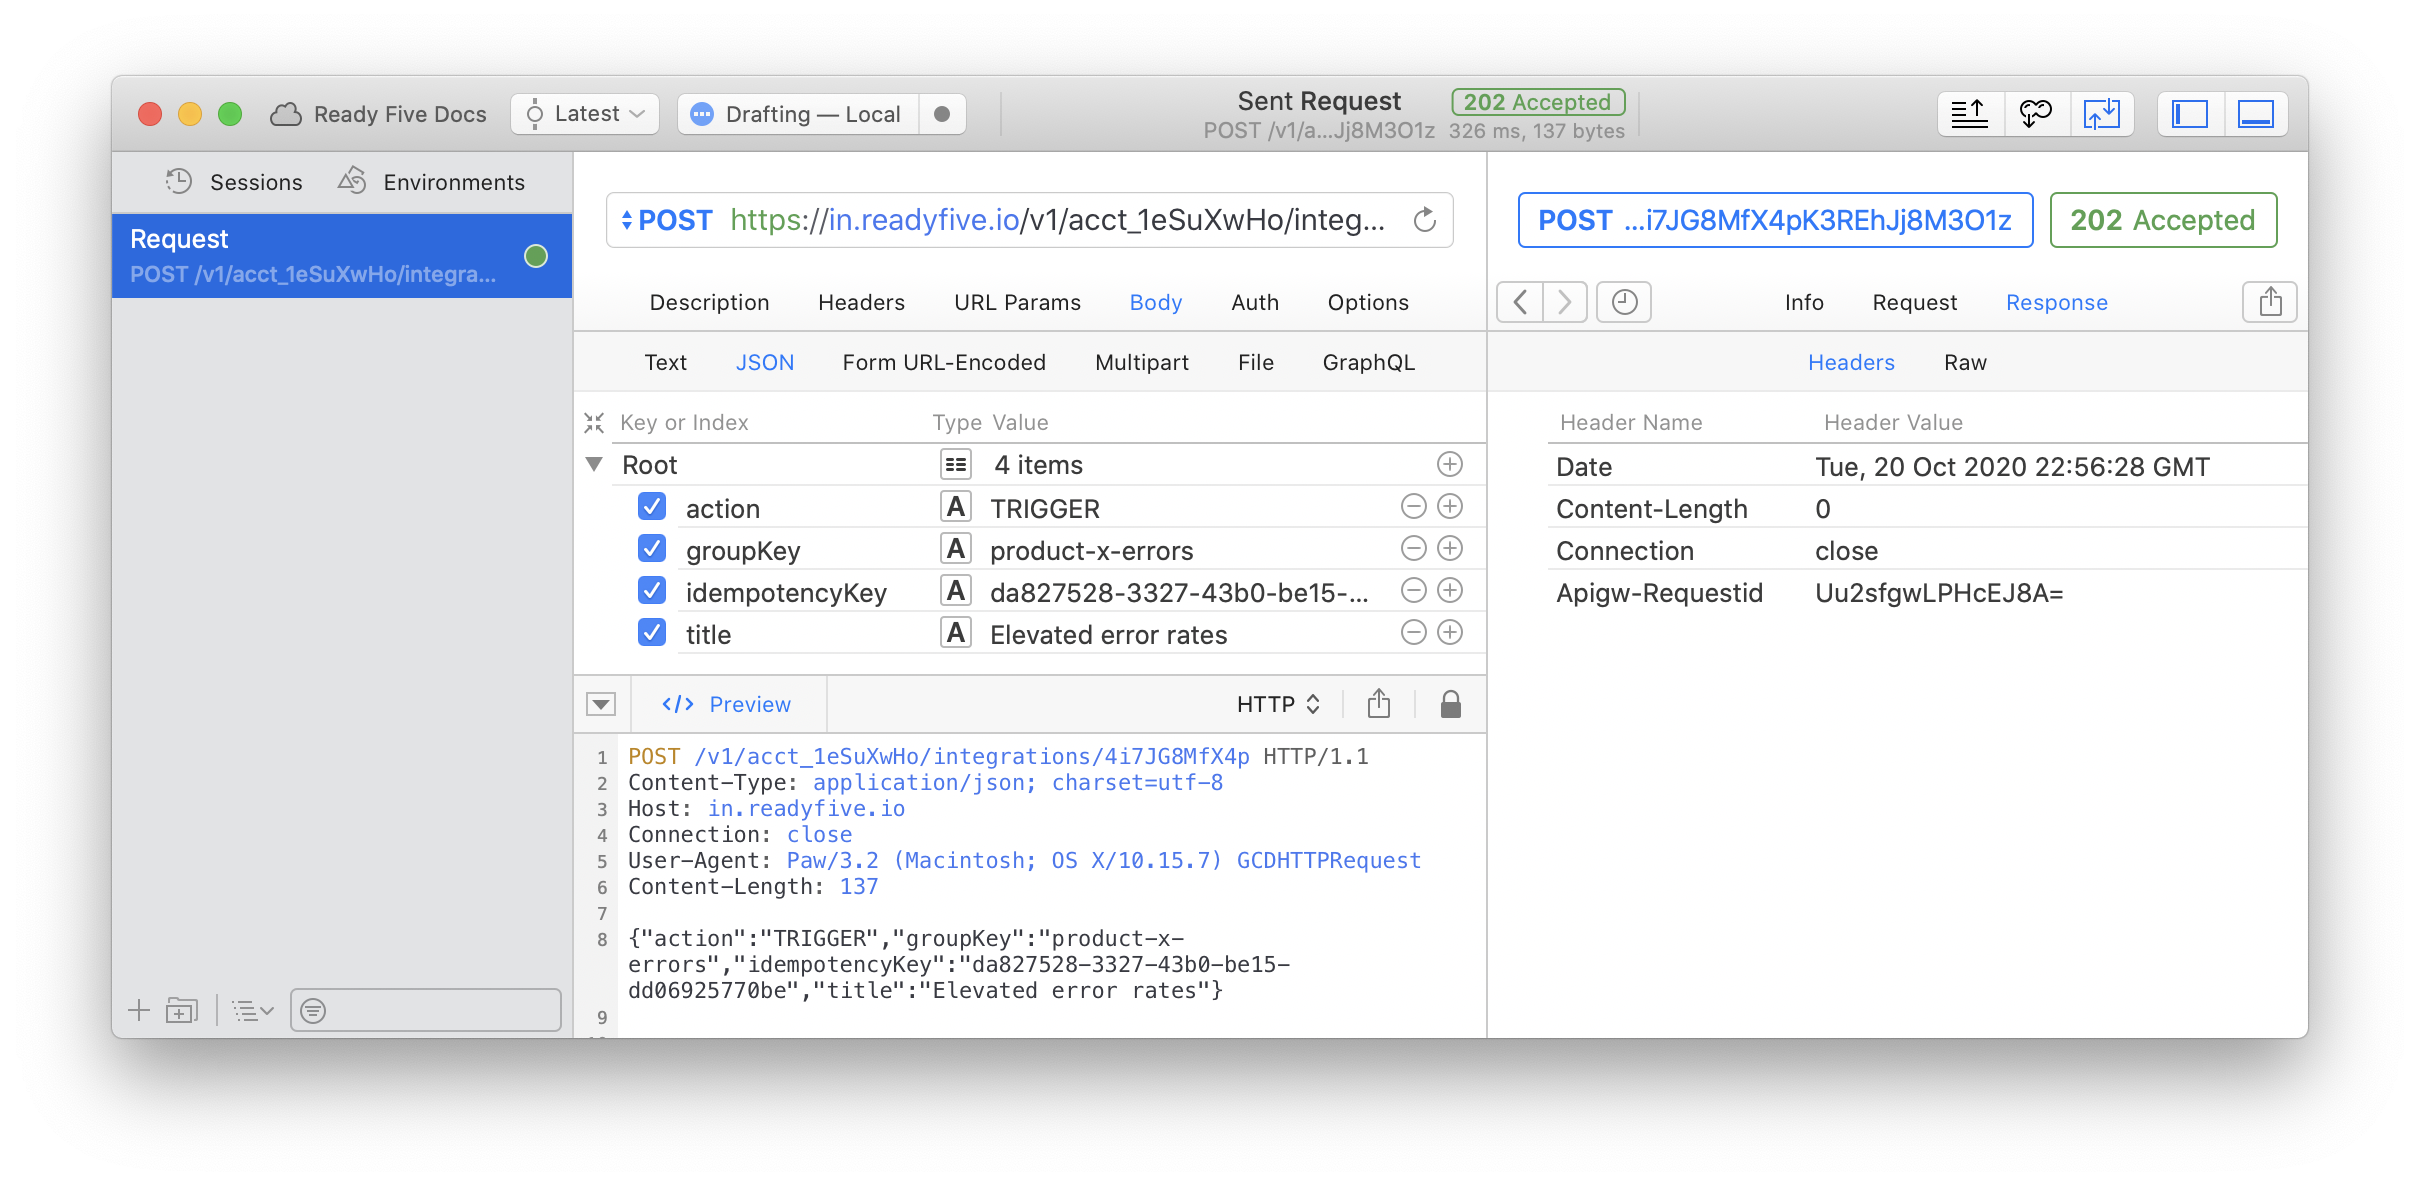
Let's make a new request with Paw and send the following as the JSON body.
You could submit this request multiple times back-to-back but because of the idempotency key, we'll only process it once (within 5 minutes).
{
  "action": "TRIGGER",
  "groupKey": "product-x-errors",
  "idempotencyKey": "da827528-3327-43b0-be15-dd06925770be",
  "title": "Elevated error rates"
}
Send the request. A 202 Accepted response will be returned as expected.
Now you'll see an open incident with the "Elevated error rates" title.

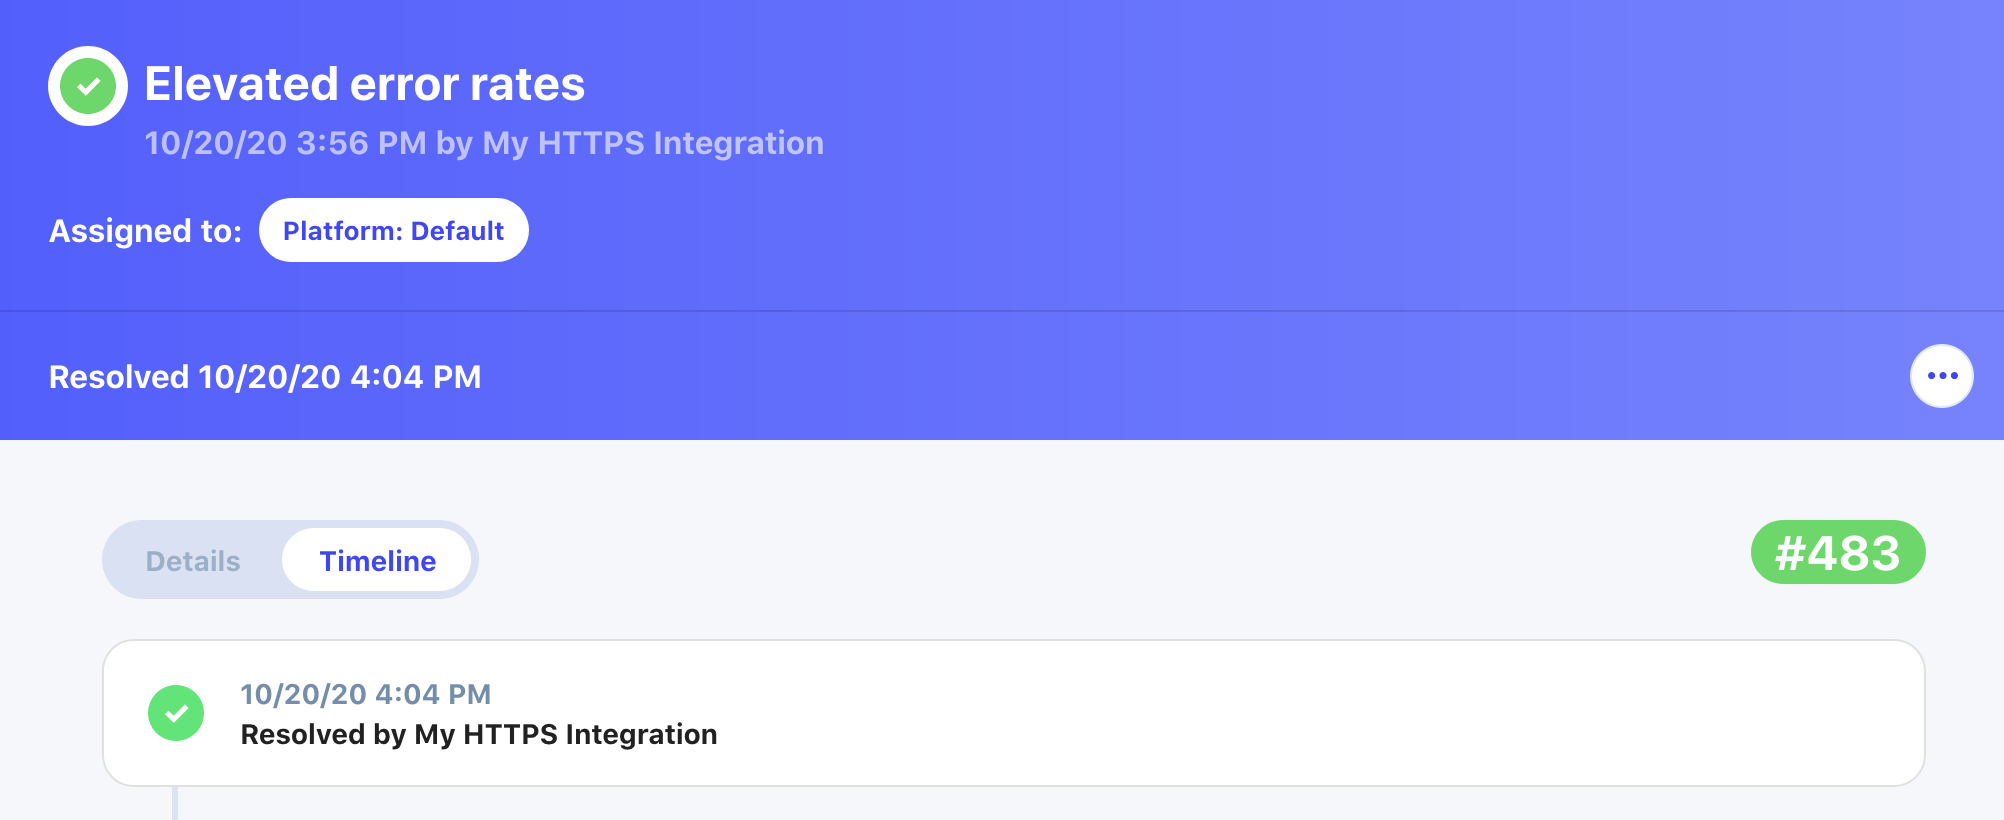
Now we could resolve this incident manually, but let's resolve it by making another request from the integration. Update the body's action to "RESOLVE", and be sure to send a new idempotencyKey (or omit it).
You need only supply the action and groupKey here because the goal is to resolve the open alert for the product-x-errors group key. No harm in sending the title again, but it's not necessary.
{
  "action": "RESOLVE",
  "groupKey": "product-x-errors"
}
Send the request. A 202 Accepted response will be returned as expected.
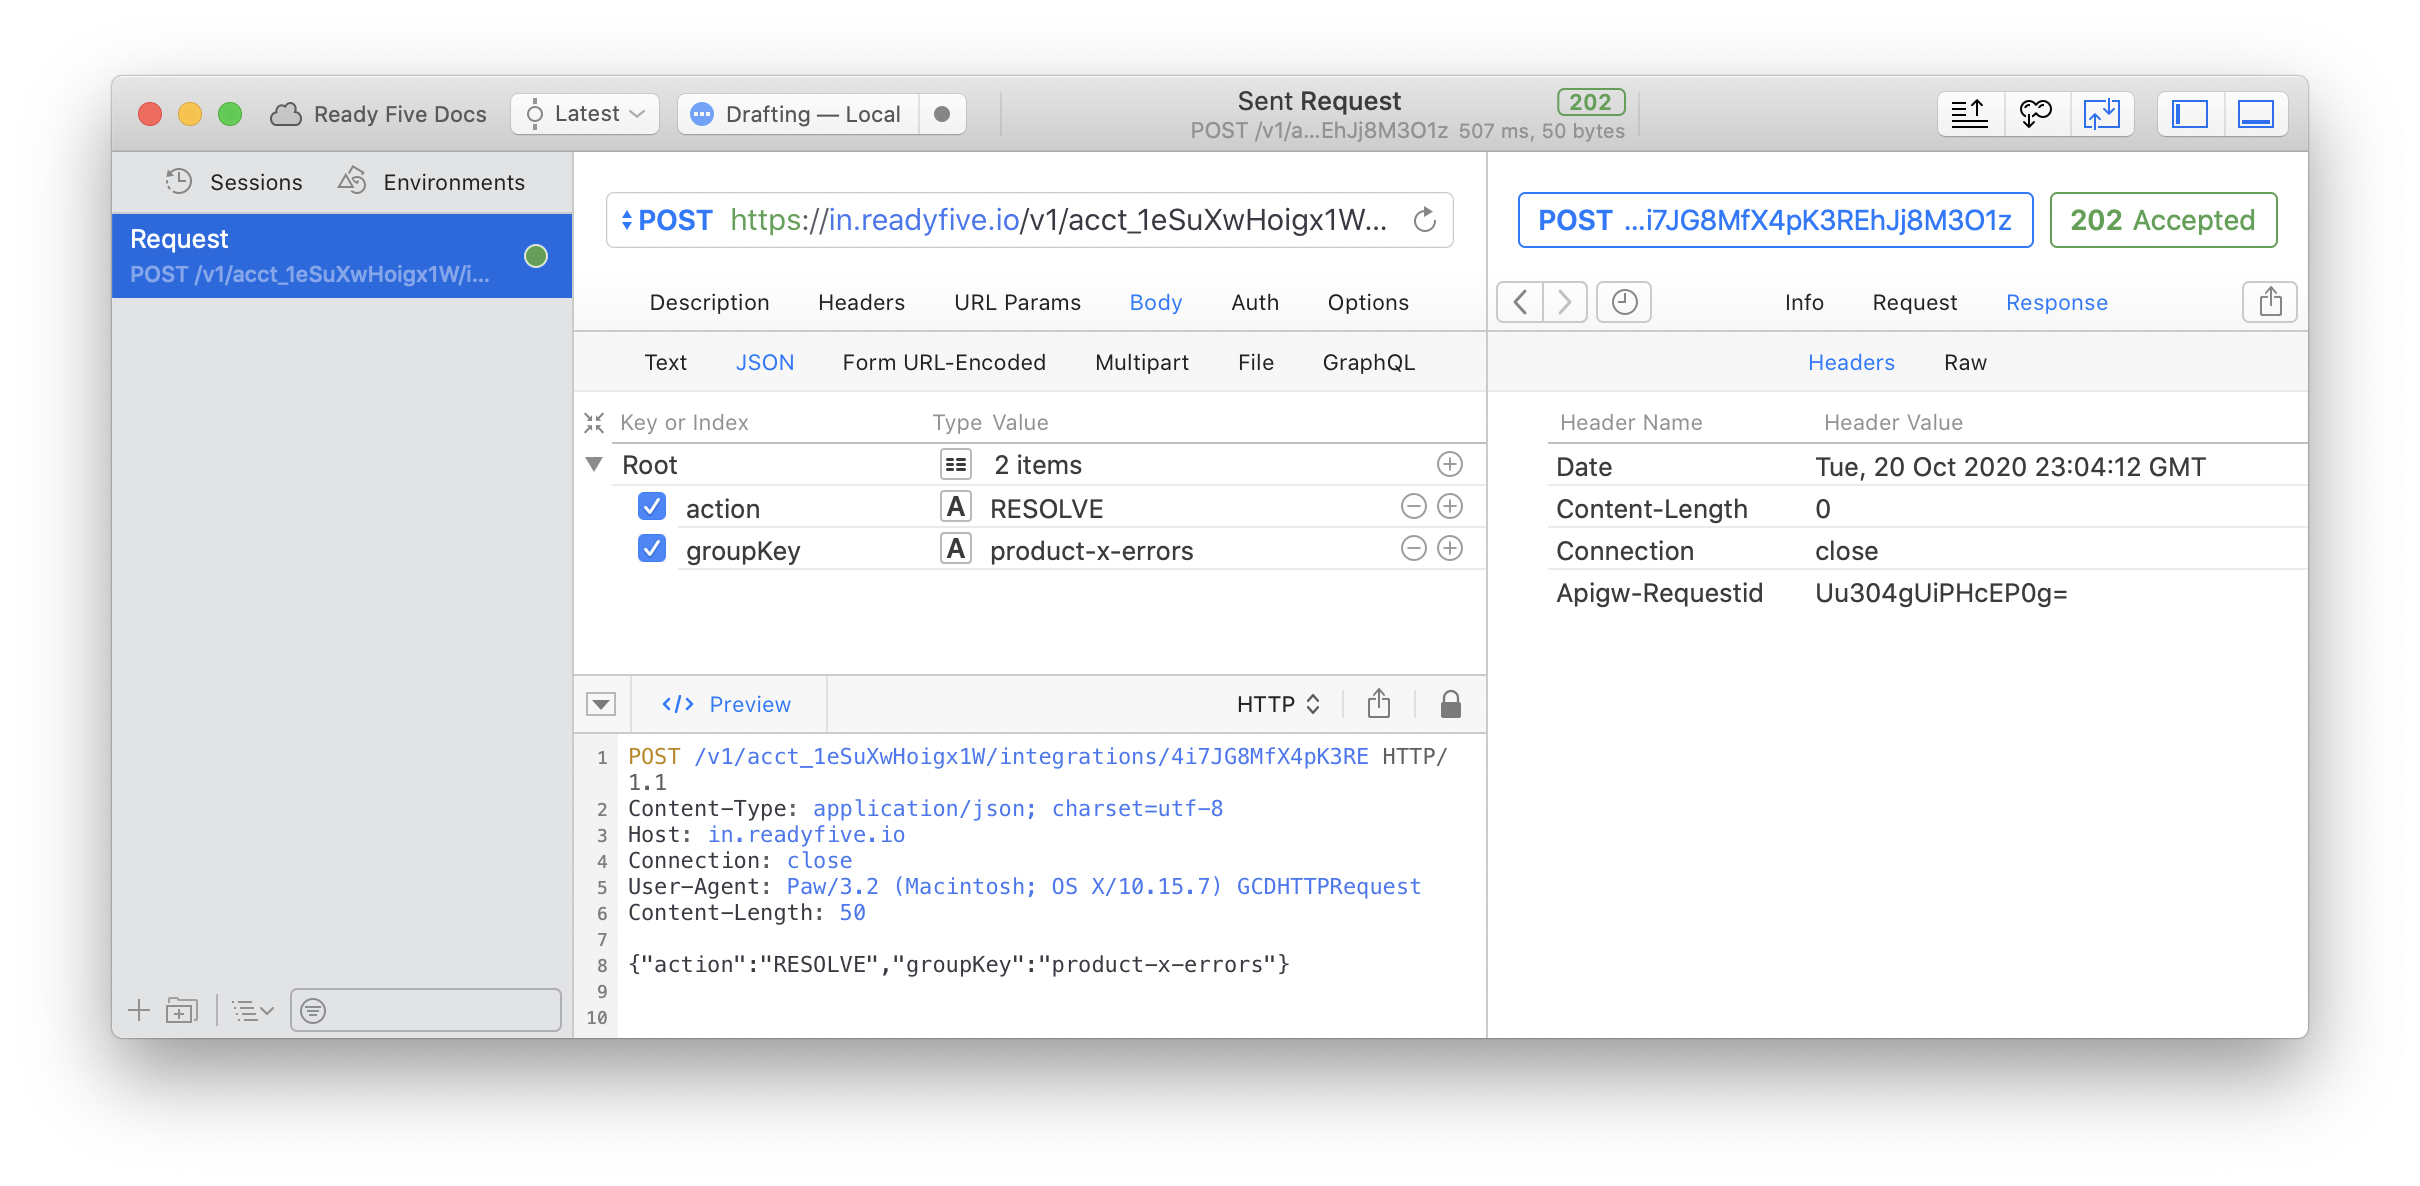
If you go back to the incident and open its timeline, you'll see it was resolved by the integration.
Send a POST request with an existing or custom shape
You can't always control the shape of event requests. They may come from a system you don't control or they might be from a third-party provider that we don't officially support. Regardless, it's one of our top priorities to ensure that you can send us any data and we can work with it.
Let's take the following shape, where a service observing your application detects errors.
{
  "monitor-name": "Project X",
  "monitor-id": 123,
  "alert-details": "HTTP 503 - Service Unavailable"
}
It's best to have an integration for each service, and you definitely want to have dedicated integrations for custom JSON shapes so we can map them with field transforms.
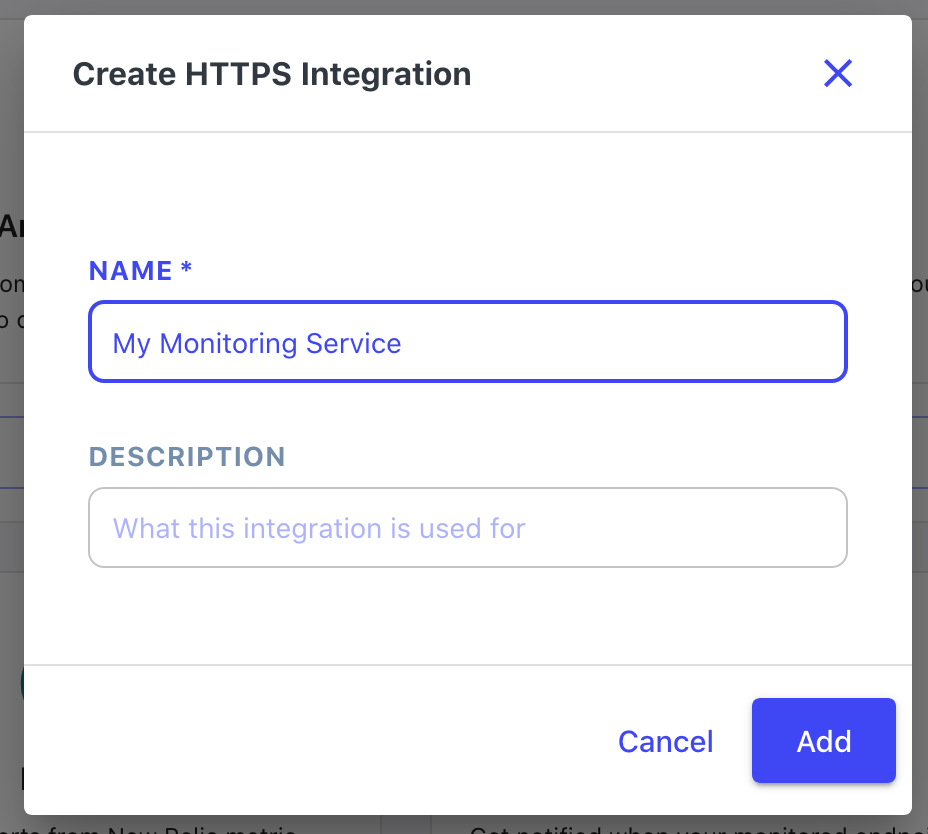
Create a new HTTPS integration. We'll call it "My Monitoring Service".
Copy the integration address and have your monitoring service send a request. You'll see that request's shape - its headers, body, and query parameters - in the "Transform Incoming Events" section of the integration page.
An incident will also be created from this request. The created incident's details will contain the fields supplied in the JSON.
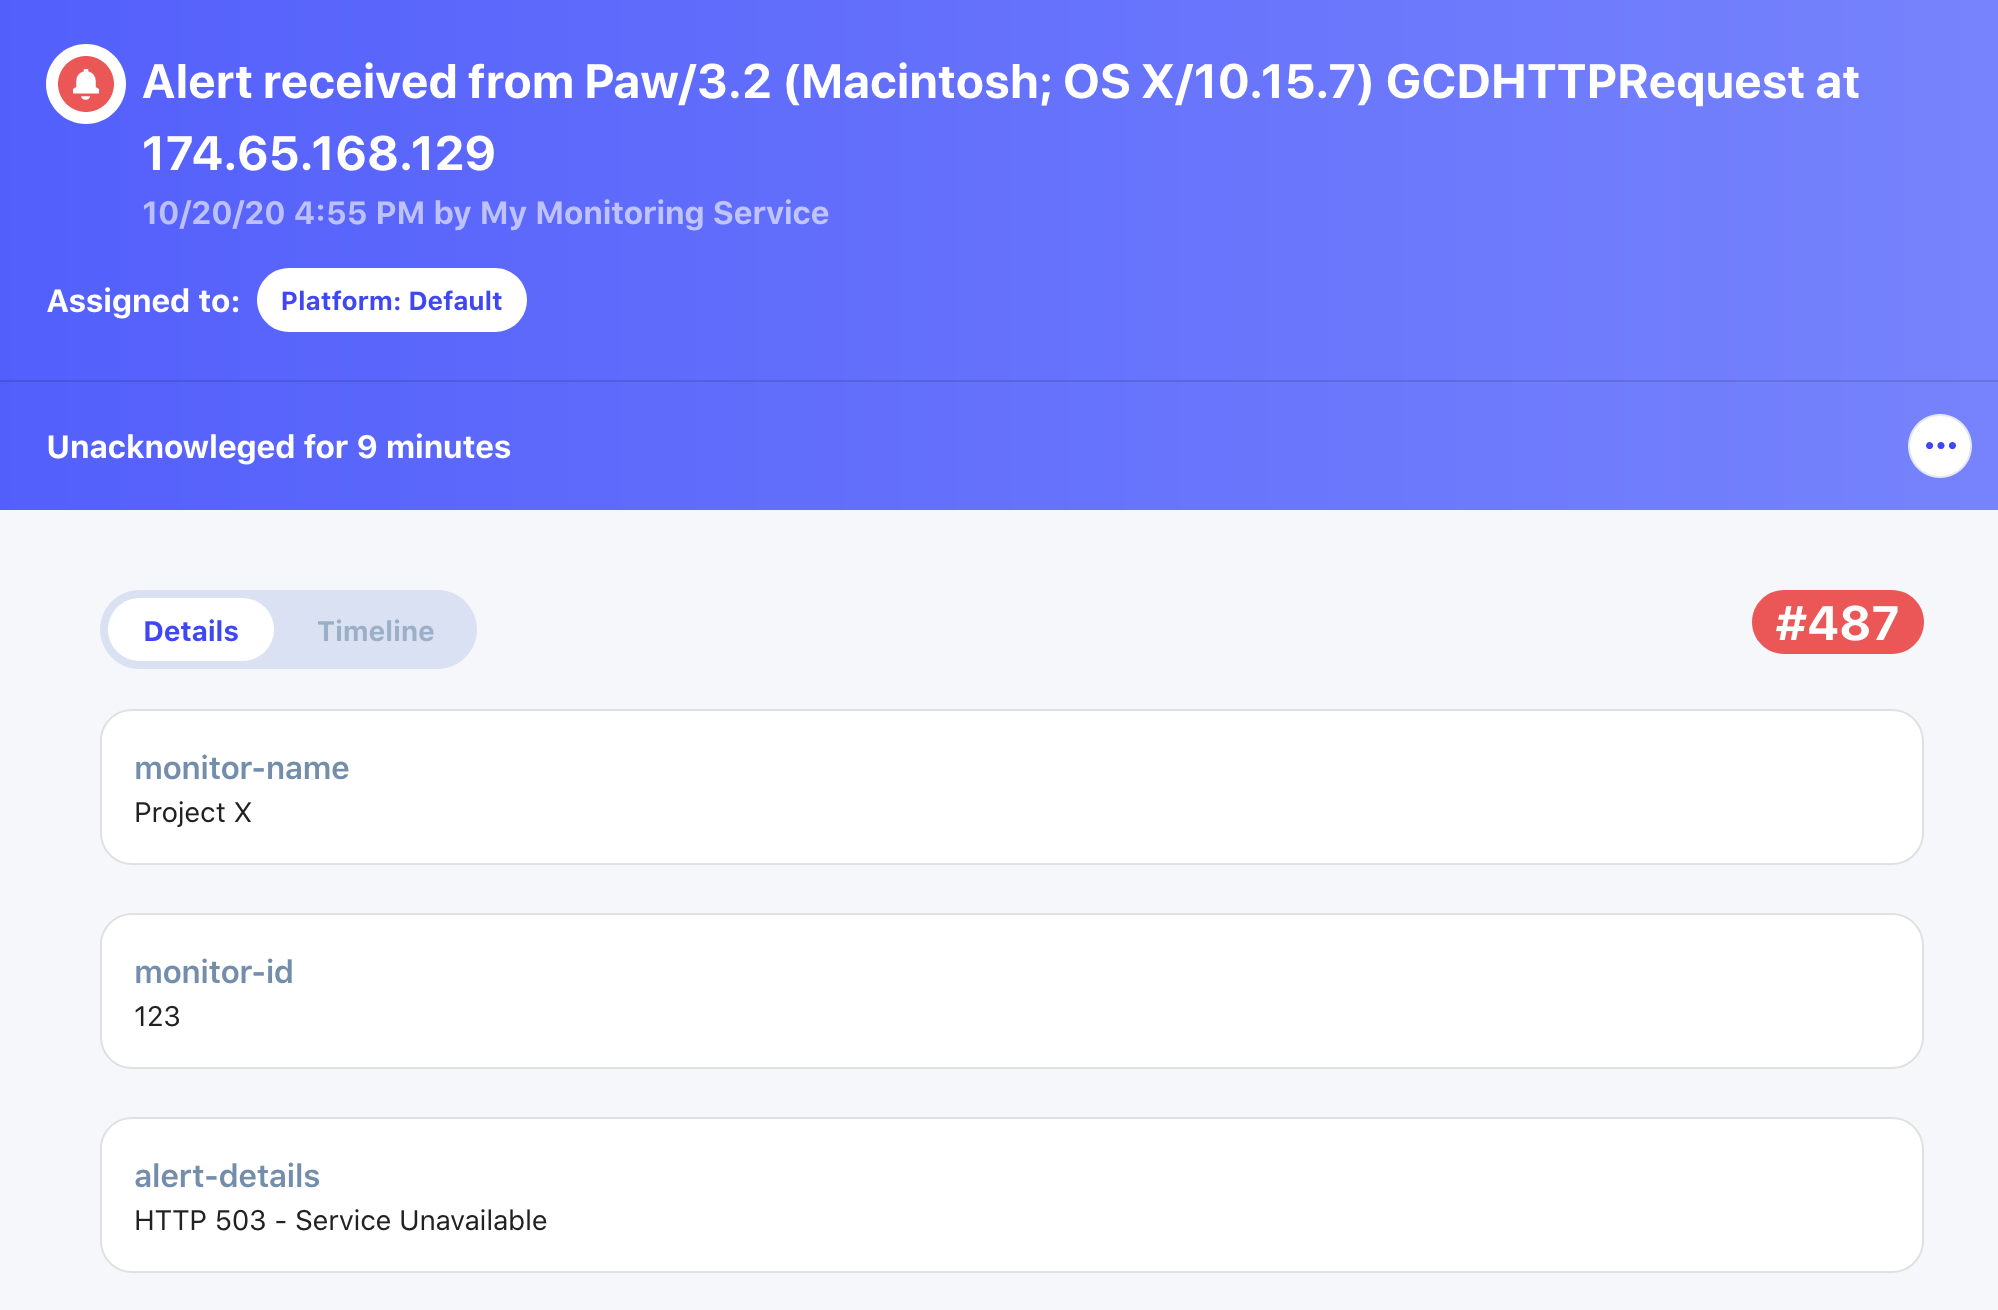
Waking up to this default title isn't particularly useful when trying to determine the problem, let alone its cause, when you're paged in the middle of the night.
To fix this, we'll transform the details of all incoming events for this integration to provide more helpful details at a glance.
Transform incoming events
Since third-party services don't often shape their requests in predictable ways, Ready Five lets you re-shape the data before those requests are converted into incidents.
Ensure you've created a new integration and sent in an initial request as described above.
On the integration page, you'll see the details of the sample request in the "Transform Incoming Events" section.
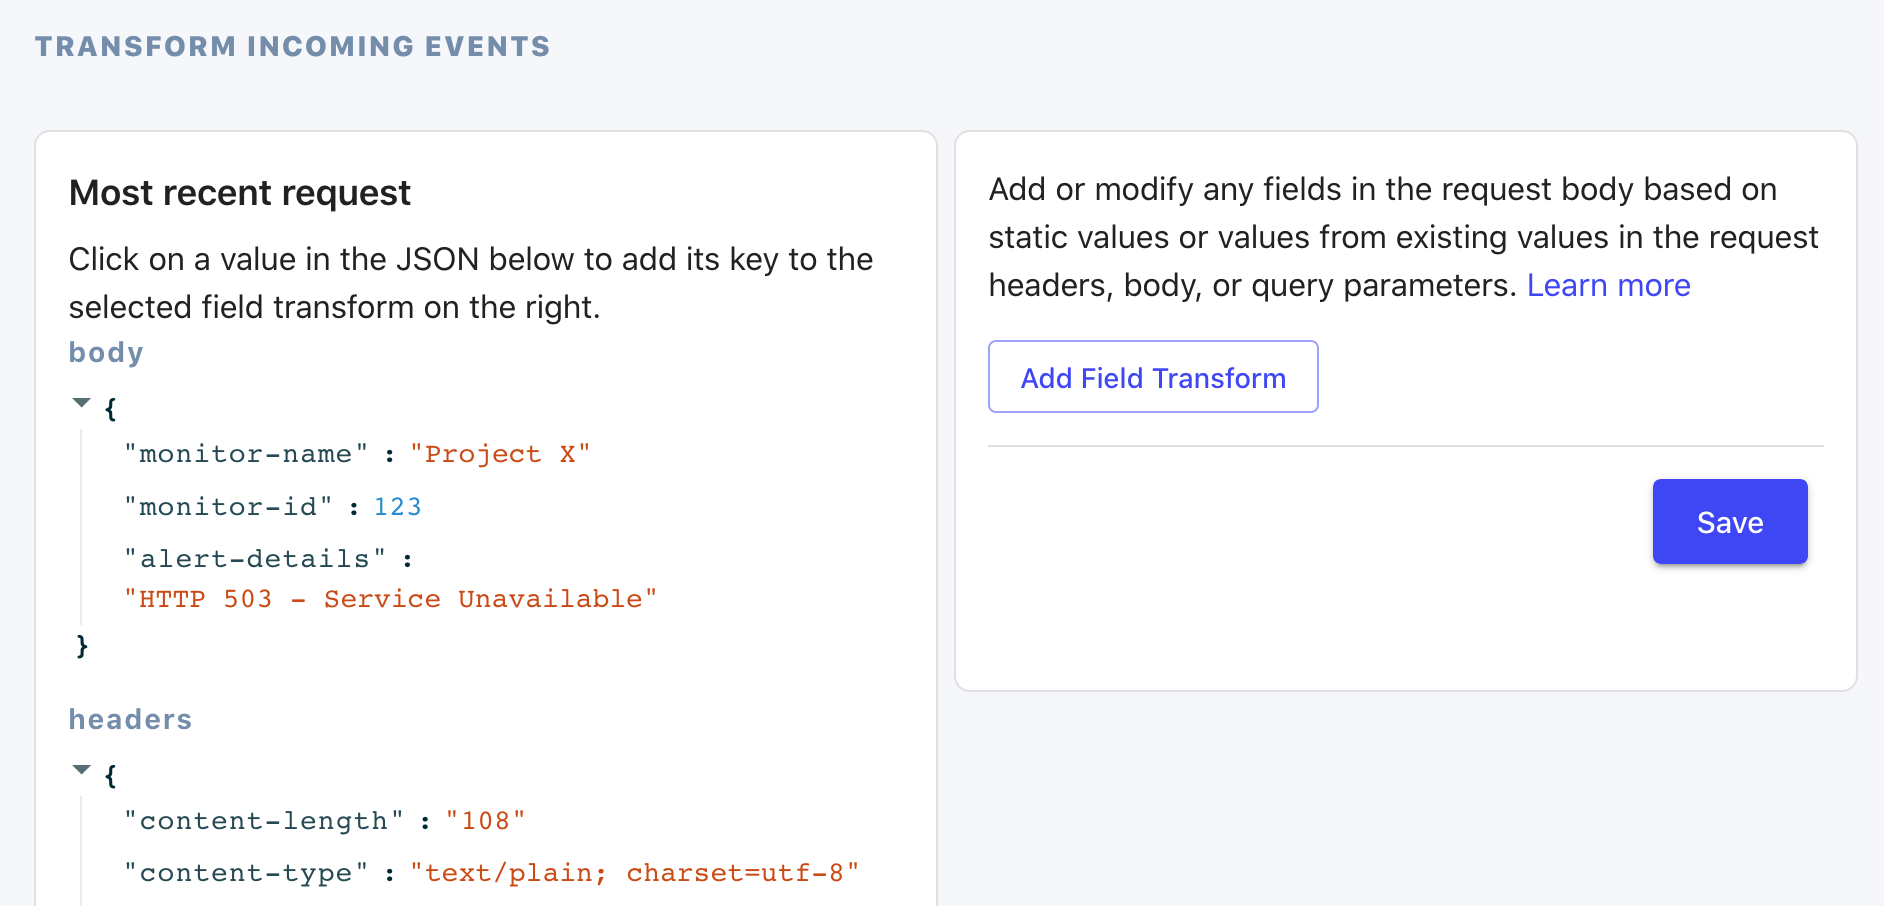
By default, Ready Five will use the user agent and source IP address to construct an incident title which isn't particularly useful here, so let's customize it.
Here we're going to set the title attribute to dynamic values from each request.
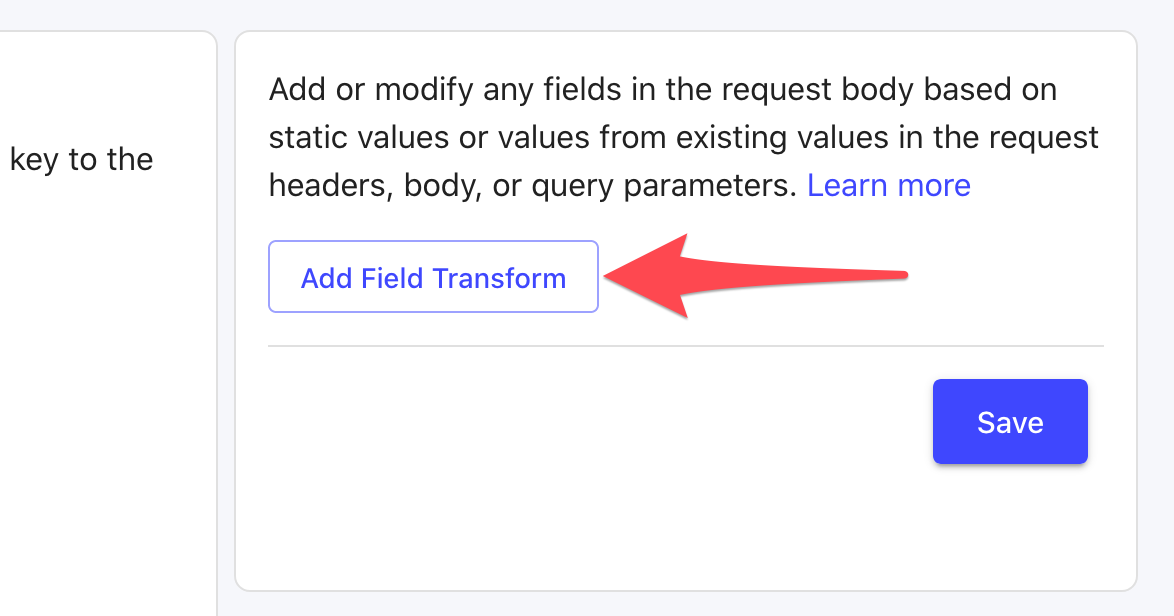
On the right, click "Add Field Transform".
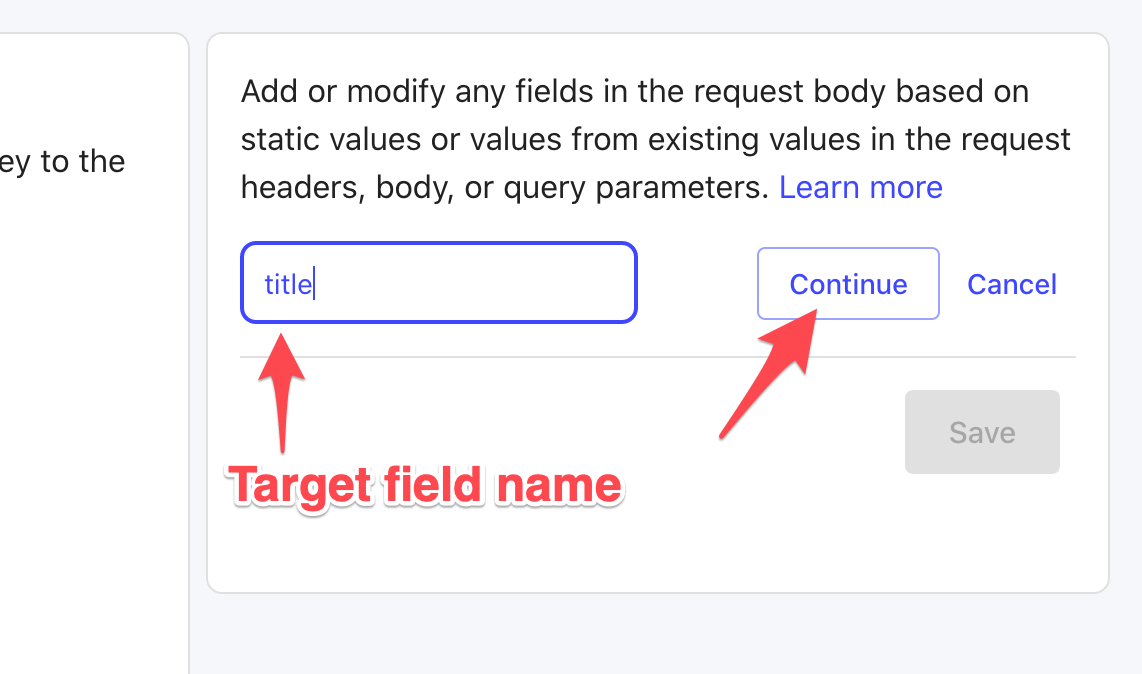
In the field with the "Target field name" placeholder, enter "title" and click the "Continue" button.
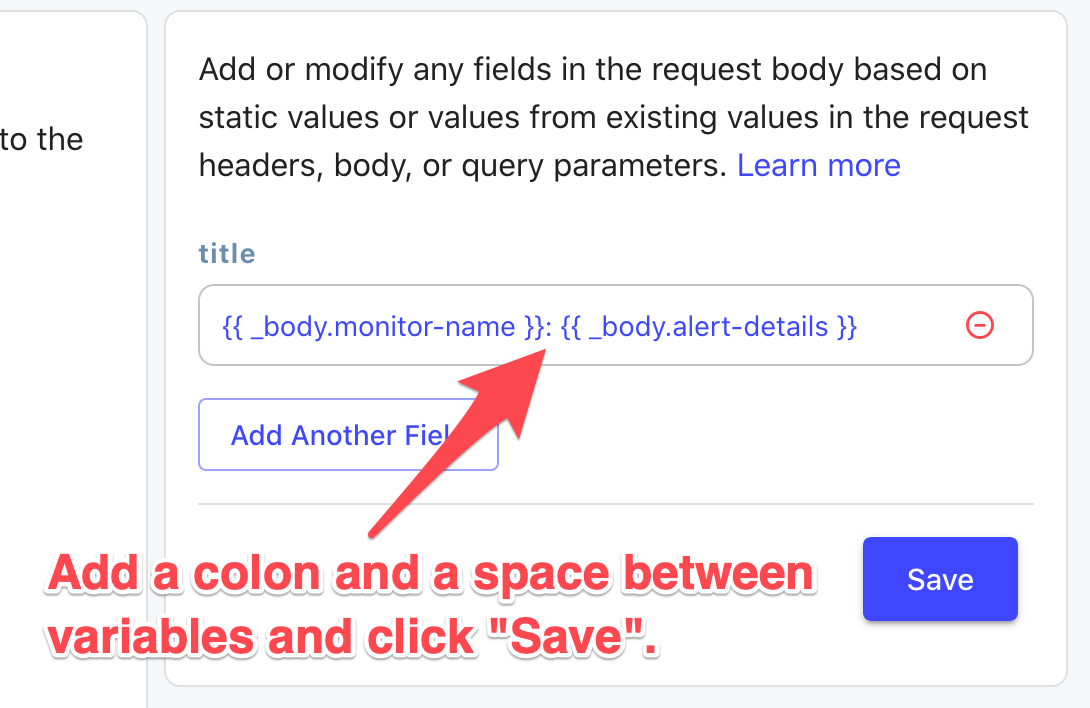
On the left, we can choose any field (or fields) to insert into our title attribute. In this case, we'd like the incident title to be "Project X: HTTP 503 - Service Unavailable". Click on the "Project X" value to add the body's monitor-name field to our transform on the right. Then click the "HTTP 503 - Service Unavailable" value to add the alert-details field to the transform as well.
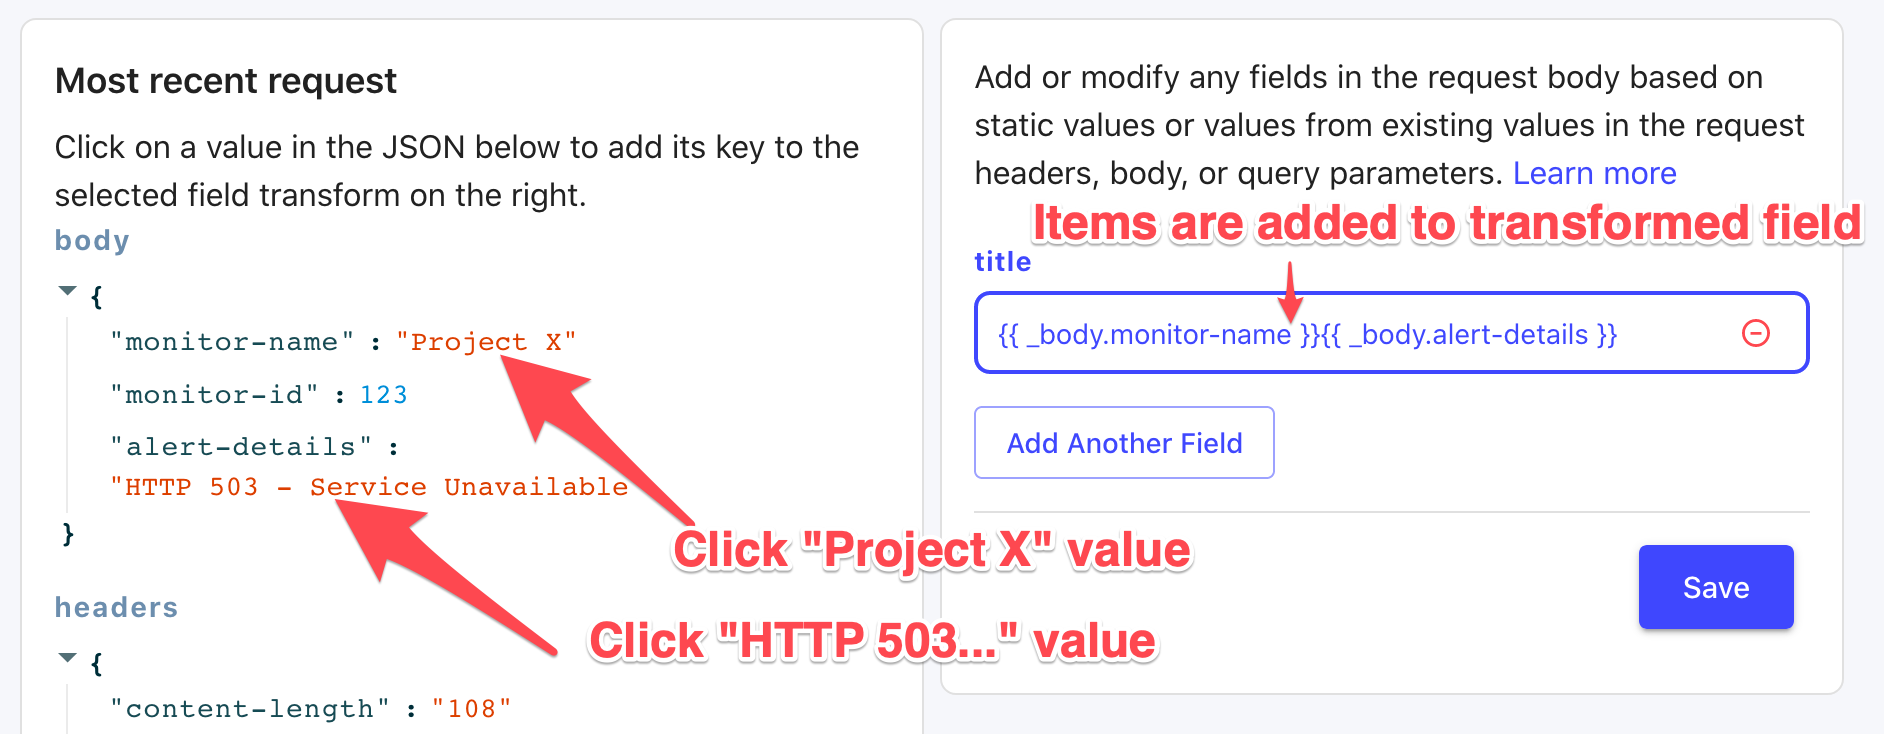
This put those field's values side-by-side, but we want a separator between them, so we can add a colon and a space character. Click "Save" to save the transform.
Test the transform
Let's test the newly added transform by sending another request from the third party system to the same integration. This time, the incident it creates will modify the title attribute on the way in and create an incident with a much more helpful title!

You can transform any of our expected fields, can add additional fields with static data, or can remove fields by adding a transform and saving them as blank, which is useful for removing sensitive information before it becomes part of the incident.